How To Hang Grow Light? 5 Easy Steps To Follow
Sunlight is an important factor for plant growth. However, you cannot let sunlight shine all day on your plants. At this time, grow lights will work optimally.
Understanding the proper light installation is essential for indoor gardening success. If you are wondering how to hang grow light, you’ve come to the right place!
Table of Contents
How To Hang Grow Light?
Hanging the grow light system at the proper distance and height is essential for it to work effectively. Here are the five steps to help nail this task.
First, make sure you don’t miss any tools from this checklist:
- Grow lights
- Drill
- Pencil
- Rope ratchet
- Hooks
- S-screws
Step 1: Locate the installation spot
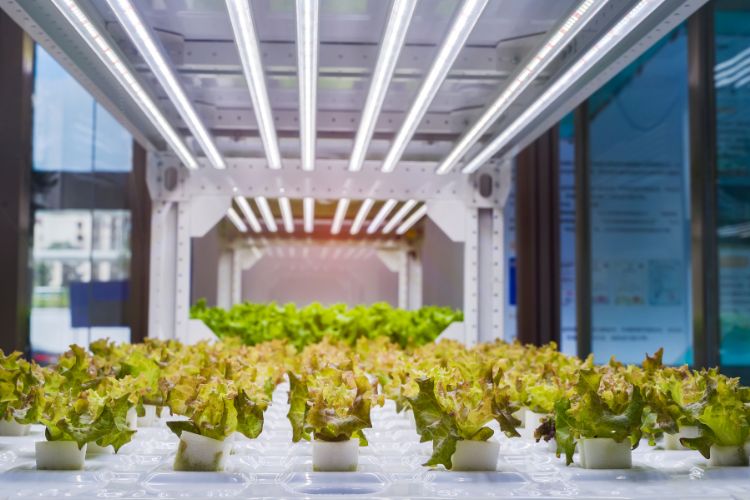
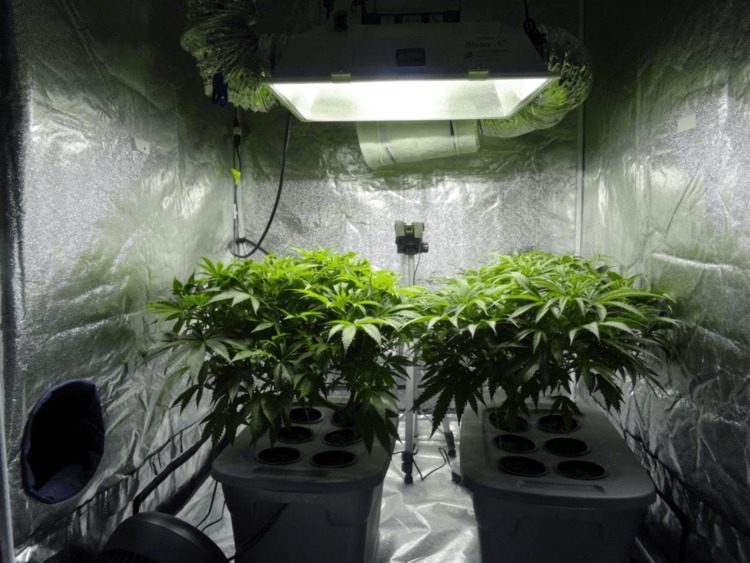
First, you may install the plant lighting system in your grow room or tent. Regardless of your choice, the bulb shouldn’t reach the greenery. Pay attention to all the elements of the ceiling. For example, if your ceiling has an overhead fan, keep your plant far from it. Often, the best spot for your plant is the empty area on the floor. Its ceiling area should be empty, too. And it’s where you place the grow light.
Step 2: Drill the hole
Once you’ve determined where to install your bulb, mark the exact spot to drill the necessary holes. These holes will serve as the attachment points for the hangers that will hold your light.
You can use a tape measure to ensure accurate measurements. Then, mark the points with a pencil. There are two options for you in this step:
- If you use a hanging reflector combo, you need an overhead joist to bear the weight. Next, drill some holes in the joist.
- If you install only the grow light, use hangers or hooks to secure it. Sometimes, the hangers stay behind the drywall. But don’t worry! A stud finder can help locate them before drilling. Please be careful at this step to ensure stability.
This guide focuses on the second method, where you use hooks. So, after drilling the holes, let’s move to the next step.
Step 3: Install the hook
Place the hook into the drilled hole, then twist it clockwise with firm pressure until it stays secure on the ceiling. Remember to flick your finger at the hook to check again. Otherwise, the loose hook can’t hold your bulb securely.
Step 4: Set up a rope ratchet
Next, you have to install the rope ratchet, which helps you adjust the light’s height. Nylon ropes are the most common choice because they are durable and cheap. There are two options for you: 1/8-inch and 1/4-inch rope. If you have a heavier bulb, go with the 1/4 version.
Now, host the rope from the hook. A yo-yo hanger or an S-screw can help you hold it in place.
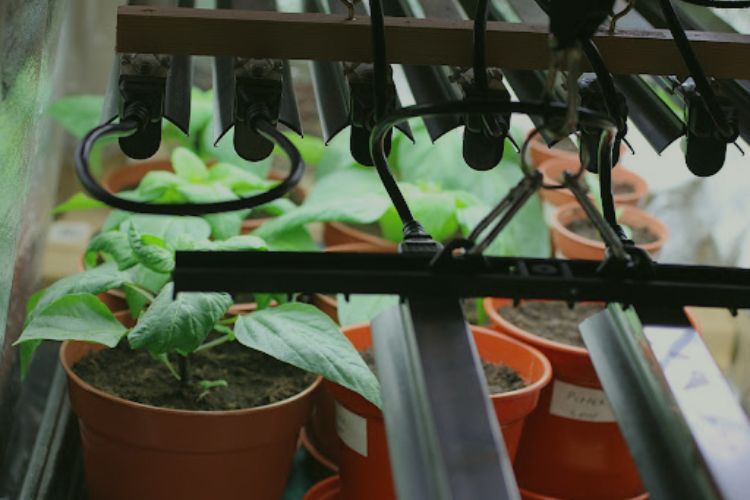
Step 5: Hang the grow light
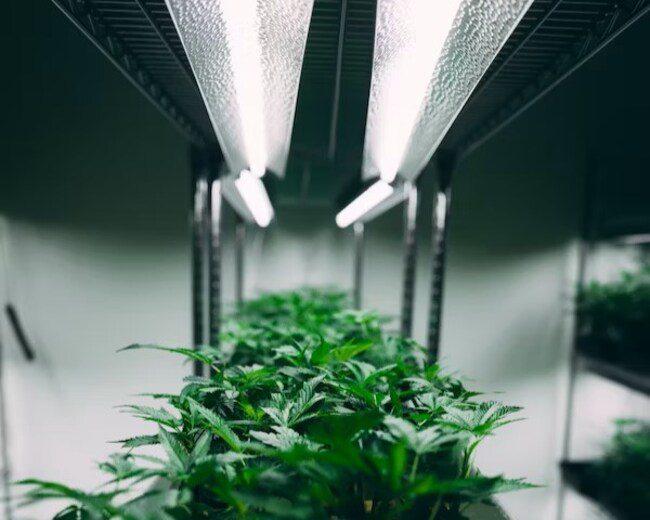
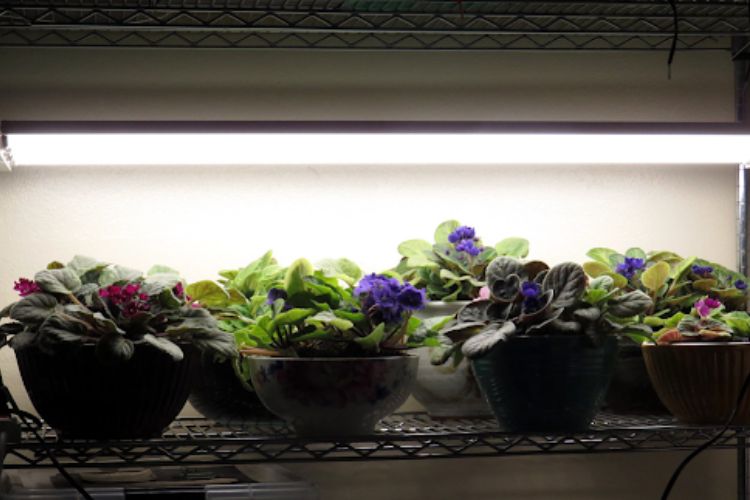
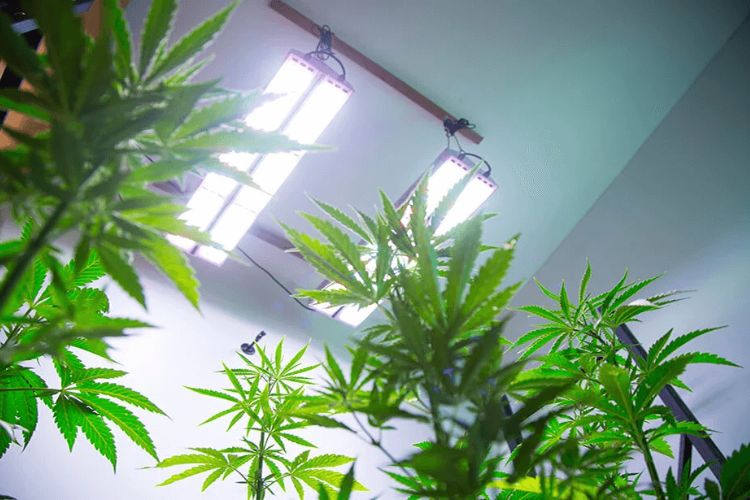
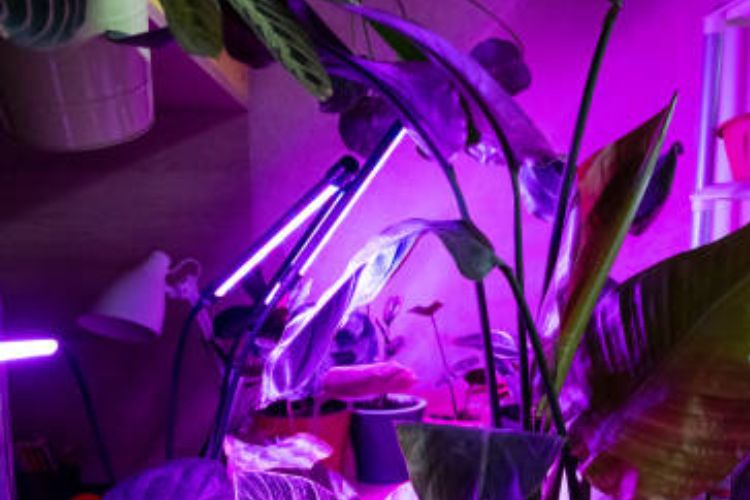
Finally, time to hang your grow light! Attach the grow light to the nylon rope. You can use more S-screws and hooks for this step. As mentioned, the rope will help you control your light’s height. For example, if you use a bulb that produces too much heat, like the incandescent bulb, increase the height so your light won’t burn the plant. Otherwise, if you use an LED grow light, keep them about one foot above the plant. This rule applies to all grow spaces. But if you want to lower the bulb exposure and brightness, move it back.
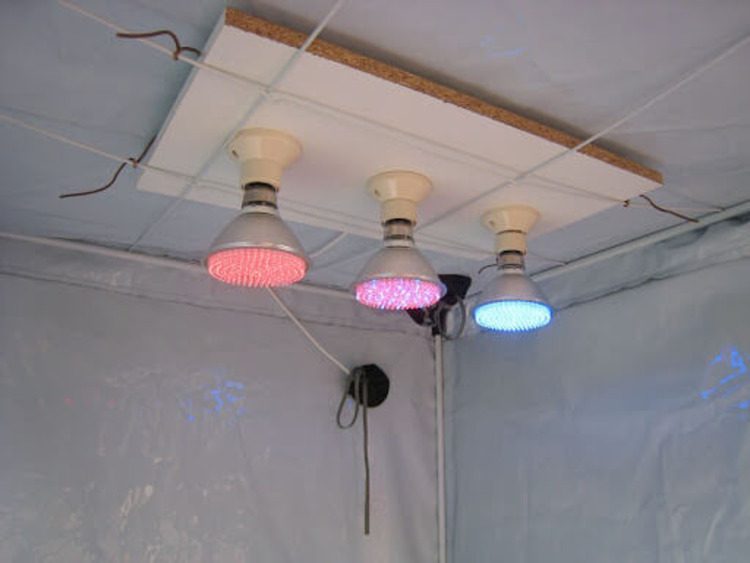
In case you want to install more bulbs for your gardening, repeat the steps above. Yet, use more tools, depending on how many lights you intend to set up.
What Are Other Extra Tips To Hang Grow Lights?
You have set up your grow lights by our steps. Yet, there are still other tips to make them creative and efficient:
- Use a timer: The timer ensures your plants receive the proper amount of illumination to thrive. For example, you can use it to adjust the brightness based on the sunlight cycle.
- Be careful with the heat: Gardening lights generate heat, even if you just use low-powered bulbs. Hence, ensure the bulb doesn’t stay close to your plants.
- Use decorative hooks: Choose decorative hooks that complement your interior design. This idea is an excellent way to create a lovely touch in your little garden.
- Consider a pulley system: This system also helps adjust the height of the bulbs. It’s a convenient way to accommodate plants of different heights. You can also change the light distance during different growth phases.
What Things To Take Note After Installing The Grow Lights?
Your planting lights are ready now. Yet, you have some things to do after the installation. For example:
- Adjust the bulb position and brightness as your plants get taller.
- If you see the leaves start to curl, increase the distance between the bulb’s light and the plant.
- Some plants extend their legs to access sunlight because the bulbs are too far. So, consider increasing the light intensity and putting it closer to the plants.
- If you install grow light in a poorly-ventilated place, use fans or cooling systems for proper airflow. Otherwise, the heat from the lights will warm up the entire growing space.
- Determine the ideal lighting duration for your plants by learning their needs. Most indoor plants require a balance between brightness and darkness.
- Keep track of the energy usage of your bulbs. Consider energy-efficient LED grow lights to optimize their performance and reduce costs.
- Prioritize safety when working with bulbs. For example, ensure that you have secured the electrical connections properly. And, there should be no exposed wires.
- Check the light’s condition regularly. Also, learn how to clean it to maintain consistent illumination.
Conclusion
Mastering the technique of hanging grow lights is a game-changer for any indoor gardener. You just need to follow our steps above to set up and hang your light correctly. Yet, be mindful of the light’s heat and performance after installation, and safety must be your top concern in all cases. Hopefully, you will find this guide helpful. Now, follow the tips and you are ready to watch your plants flourish!
FAQs
Related posts: