How To Care For Orchids After Flowers Fall Off? 4 Steps
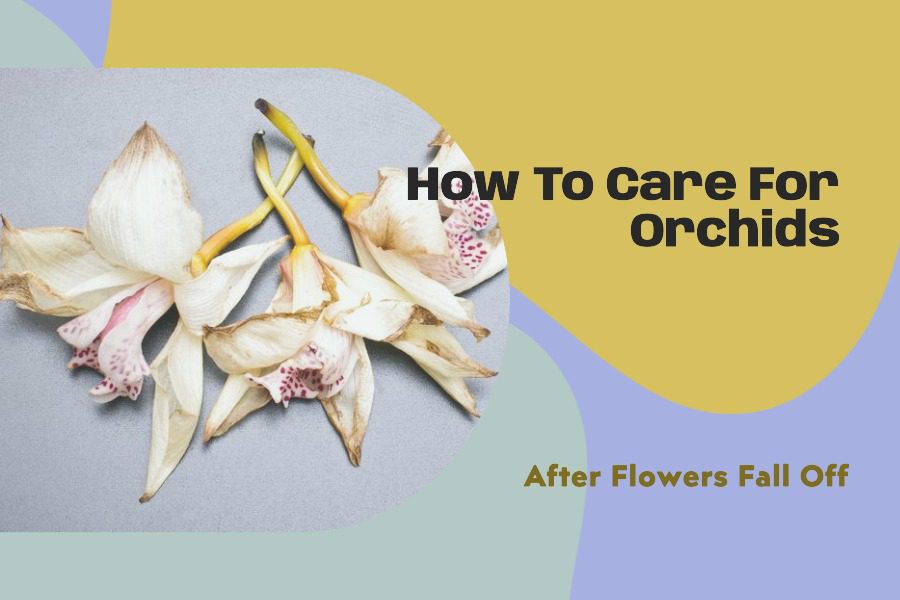
After your orchids have finished blooming, you must continue to perform their daily care routine, from providing adequate living conditions to refining appearance.
All this is to stimulate the plants to rebloom, even bloom more garish the next time. However, in the process of taking care of orchid pots, I felt confused because there were so many things to do, so my mind at that time was like a mess.
After that, I was forced to sacrifice a few pots of orchids to choose the truly necessary steps and arrange them in sequence. It is a relief! This not only keeps me from getting confused, but also makes the orchid care cycle very effective. I’ll share the 4 steps I’ve summarized along with the essentials right away.
What Do You Do With Orchids After The Blooms Fall Off?
As promise, here is 4 steps I arranged after many experiences for caring orchids after blooming periods:
Step 1: Cut the flower spikes
As you know, flower spikes are where flower buds begin to grow and bloom. In an article I once shared on the topic of how to rebloom an orchid, cutting spent flower stems is one of the most effective ways to encourage the plant to create new flower buds and bloom again. But don’t cut them too early, I usually wait until the wilting and shedding cycle comes naturally before cutting.

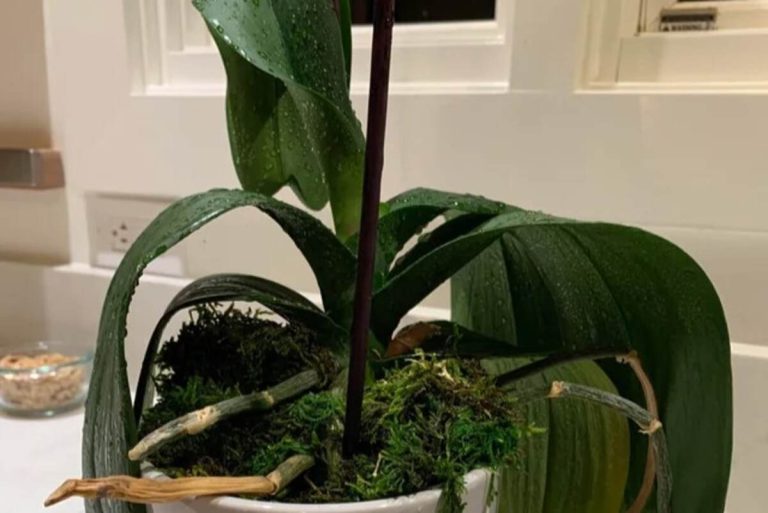
Cutting the flower spikes of an orchid plant
To cut flower spikes properly, you need to follow these 3 steps:
1. Clean and disinfect cutting tools. Don’t skip this step if you don’t want your plant to suddenly become infected with an unsanitary tool.
2. Identify small raised bumps or nodes along the length of the spikes. It would be good if you cut spikes just above these nodes.
3. Cutting straight across and avoid cutting too close to the node since it affects the new growth.
When the new plant begins to grow, you continue to care for it according to the daily routine until the next bloom occurs.
Step 2: Provide the right conditions
After the flowers fall, continuing to supplement orchids with living conditions such as light, water, temperature, and nutrition is very important because they directly affect the ability to re-bloom. Even if you wish to prolong the life of your flowers in their next bloom, never forget these factors.
Light
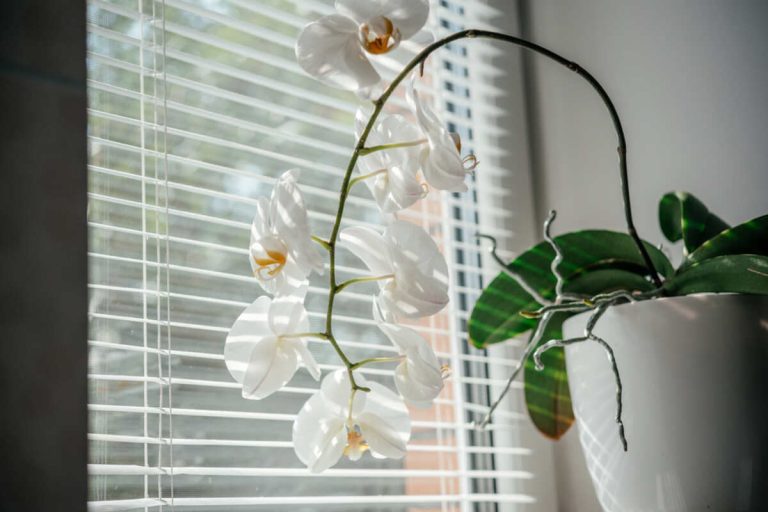
Orchids are inherently a plant that is very sensitive to light and natural influences around them. Leaving orchids exposed to direct sunlight is one of the common mistakes I have seen among most beginner orchid growers. Although orchids need light to grow, harsh sunlight can burn their delicate leaves. Instead, orchids prefer bright, indirect light because it is similar to light filtered through windows or curtains in your home. Not only does it provide indirect sunlight for the garden beds, but I also often arrange potted orchids in the kitchen window because it is built in the west, which is always filled with wonderful light, making them always happy, even over bloom. However, I generally prefer Phalaenopsis orchids over other species because they can survive in both low light and shade conditions.
Temperature and humidity
I feel like these two elements always go together like a shadow. The ideal temperature that orchids prefer is between 60°F and 80°F (15°C and 27°C) during the day and slightly cooler at night, but not lower than 40°F. Additionally, I invested in a humidifier to ensure the humidity in the house isn’t too dry, making the orchids feel uncomfortable.
Water
This is always a good candidate for my orchids to continue to bloom more. Water regularly after your orchid blooms, I mean once a week, not everyday! I always share that the way to limit over watering is to tap in about 1-2 inches of the top layer of soil to make sure it dries out between waterings. Watering too much or too little will damage the roots and your entire plant. Be careful!
Fertilize
In fact, nutrients are indispensable factors for any development. I often get asked if I should fertilize orchids after blooming, the answer is yes! Some types of fertilizers can also help flowers bloom faster than expected, with even more vibrant colors than the previous one. Liquid fertilizers with a balanced 20-20-20 ratio would be my top choice.
I suggest cut back or temporarily stop fertilizing during the dormancy period because this is the time when they need to rest and will stop receiving all activities, or will be slower than usual.
Step 3: Remove death roots
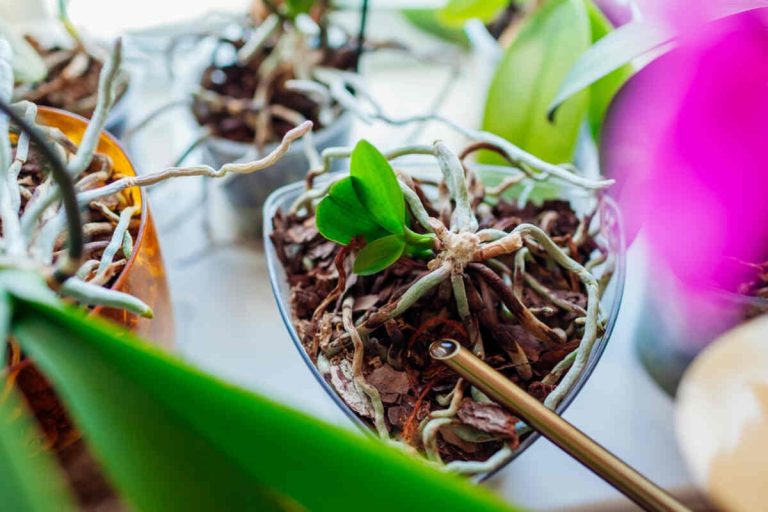
Healthy roots are essential for flowering because they are the source of nutrient absorption throughout the plant. After many years, I have noticed that orchids tend to transfer energy to the roots to grow. Therefore, I recommend pruning dead roots carefully to ensure there are no risks during the recovery process for beautiful orchids to rebloom.
Before I had gorgeous orchid pots that could last for several years, I also made mistakes that caused my orchid pots to die due to root rot, especially overwatering. In my experience, when you discover any death roots, remove them immediately to prevent the spread to healthy ones. If necessary, repot a new container with a good orchid potting mix, except blooming stages.

Remove death roots immediately to avoid effect on other healthy roots
Step 4: Repot the orchids (optional)
After a long period of care until the flowers bloom, the nutrients in the orchid soil mixture, such as bark or moss, may have been gradually degraded and decomposed. This is the time I have to change to a new container with a good drainage system (in both potting mix and pot) to reduce the risk of fungi or bacteria infecting my plants, especially to create a new growing environment for the orchids to wait for the upcoming bloom. The best time to repot orchids is usually in spring or fall, when the orchids start to develop.
How To Last The Time Of Orchids Blooming?
Orchids will fall when they reach the aging stage or are affected by external factors. Overall, to help flowers last longer, as well as maintain the overall health of the potted plant. Here’s a summary of how to keep orchids blooming longer.
- Proper fertilization: Choose a balanced fertilizer, preferably 20-20-20 during the growing season. However, cut down or stop fertilizing during the dormant period.
- Temperature control: Keep orchids in a temperature range between 60°F and 80°F. Nighttime can be about 10°F lower than daytime.
- Air circulation: Air that is too humid can pose a potential risk of mold and pest growth and reproduction. Fans or ventilation devices can help prevent these problems. I recommend placing them below the flower pot instead of directly opposite it.
- Pruning: Remove flower stalks, leaves, or dead roots. This not only improves the plant’s appearance but also activates the life force for new flowers.
- Repotting: Orchids should be repotted every 2-3 years. But when you notice that the planting mixture has deteriorated, repot it earlier to avoid risks and help keep the plant healthy.
Understand About The Cycle Of Orchids
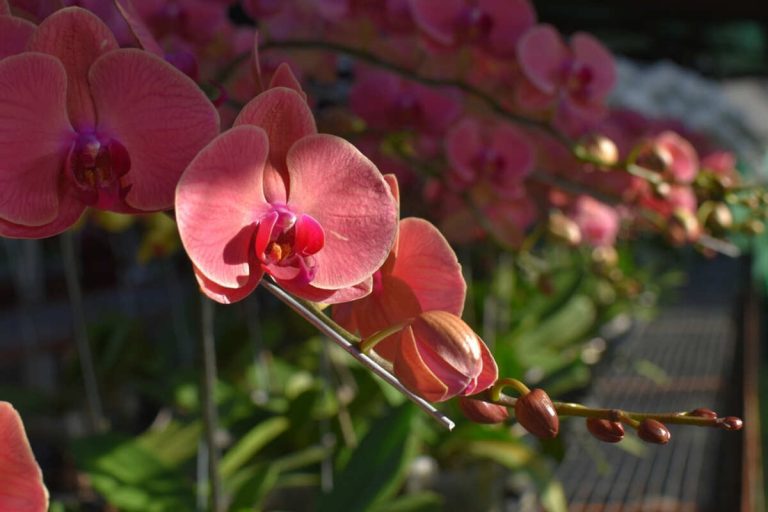
I want to share with you the life cycle of this beautiful flower. From seeds grow into seedlings, during the growth phase they form new roots and leaves. And when orchids produce a pseudobulb or a new bud, this is the most awaited stage – flowering.

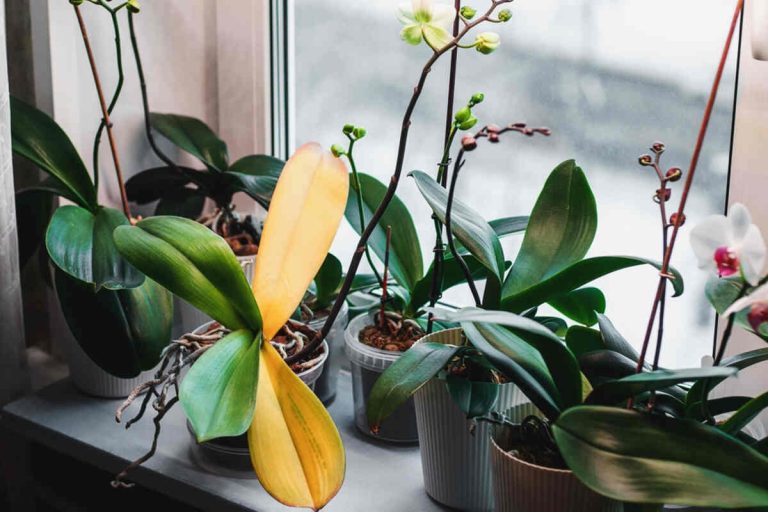
Continue provides necessary factors for orchids after flower fall off
But, nothing can last forever, orchids when it’s time to fall or hibernate, this is the time they rest to restore energy for future reblooming. However, in addition to natural aging reasons, impacts from environmental conditions are also worth considering such as changes in temperature, light, overwatering, or humidity as well as lack of nutrition. Therefore, I want to write this section to help you better understand the life cycle of orchids and observe the reasons for flower drop to promptly prevent problems of infection or lack of any factors for growth.
Conclusion
In fact, there are many ways to restore your plant’s health after blooming. But in many years of working with orchids, I have learned the key methods and arranged them into steps that are easy to follow and can approach beginners easily. As a result, with patience and love for my love orchid pots, I have witnessed their resilience and the quality of the blooms that follow, truly worthy of what I have given. Be patient and wait, you will be surprised with the results!
FAQs
Can orchids grow back after the flowers fall off?
Sure, you can get orchids to rebloom again if they are living in the right conditions and caring routine.
How long does an orchid take to rebloom?
An orchid takes 6 to 9 months to reloom, such as Phalaenopsis. However, some other types such as Cymbidiums orchids will take longer, from 12 to 18 months or more.
Should I continue caring routine orchids after the flowers fall off?

