How To Propagate An Orchid: 6 Methods
To propagate orchids successfully, I have tested and picked 6 ways: Stem cutting, division, propagating in water, back bulbs, producing Keiki, and propagating from leaves. However, each method has requirements for certain types of orchids and depends on the expertise of the grower. Below are 6 ways along with step-by-step that I compiled to help you propagate quickly and with the highest efficiency.
How To Propagate Orchids From Stem Cutting?
Step 1: Select a healthy orchid
To propagte orchids from stem cutting, the first thing is to choose an orchid that is completely healthy and has at least one mature node that is strong and healthy for successful propagation. Nodes on orchid stems are small, raised nodes, where new leaves and roots can develop.
Step 2: Cutting the stem
Use scissors or a sterilized razor blade to cut diagonally across the stem just below the selected node and make sure you have at least one node on the cut section.
Step 3: Preserve the cut stem
Place the cut stem in a dry or shaded place for 1-2 days to allow the cuttings to callus and prevent fungal infection.
Step 4: Plant cuttings
Insert the cut end of the stem into the potting mix, while the rest is on top of the potting surface. Ensuring that at least one node is buried. Additionally, I gently press the mixture around the cut for firmness and stability.
Step 5: Preserve the new cut
Use a clear bag or plastic wrap to cover the cut. This is similar to creating a mini greenhouse that helps maintain humidity around the cut.
One of the keys to successful propagation of stem cuttings is the nodes. Small nodes on the stem serve as growth points for new plants.
Stem cuttings are a less commonly used propagation method compared to techniques like division or bulb propagation. As I see it, stem cutting is the most suitable way to propagate orchids such as Dendrobiums and Epidendrum, which have long stems like sugarcane and have many eyes.
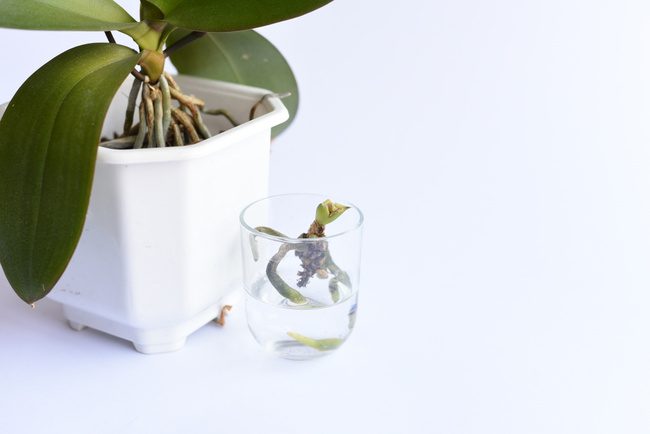
How To Propagate Orchids In Water?
Step 1: Prepare a transparent glass or vase
To propagate orchids in water, find a tall and clean transparent cup or vase to avoid infection or fungus from entering during the cutting process.
Step 2: Fill with water
Fill the glass or jar you initially chose with distilled water or rainwater. I usually don’t use tap water because it may contain chemicals and bacteria that are harmful to cuts.
Step 3: Cut the stem
Use clean, sharp scissors or a razor blade to cut the healthy orchid branch at least 1/4 inch below the node, similar to the stem-cutting method.
Step 4: Place the cut branch in the water
Soak the cut end of the orchid stem in the water, ensuring the node is completely submerged while the top remains above the water level.
Step 5: Monitor the growth
After a few weeks to a few months, I have seen the roots grow healthy in the water. Therefore, I continue to change the water regularly to maintain root growth.
Step 6: Propagate orchids
Once the cuttings have grown about several inches long and are healthy, it is time to begin transplanting and propagating your orchids. Carefully grow it into a pot with potting mix or your favorite soil.
Propagating orchids in water is a method that I believe is suitable for beginners because you can easily observe the healthy growth of the cuttings in water. However, this is only successful with certain species.
You can freely propagate orchids simultaneously in many different cups or vases.
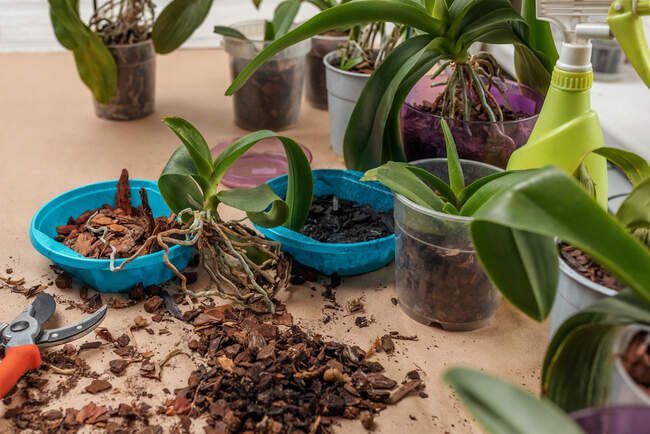
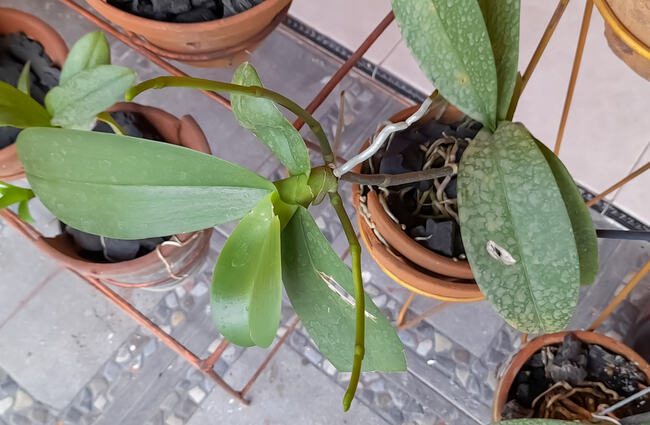
How To Propagate Orchids With Division?
Step 1: Choose the right time
You may wonder why I chose this factor in the first step, but time is the key to successful orchid propagation through division. The best time to divide orchids is after they have finished flowering and are entering a period of abundant growth.
Step 2: Take the orchid out of the pot
Carefully remove the orchid from the pot. In case the roots are too tightly attached like mine, don’t rush to break the pot! You just need to gently tap the pot wall or use a clean knife to slowly separate the roots.
Step 3: Divide orchids
Separating each rhizome clump into new orchids, making sure that each plant has at least 3-4 mature bulbs or branches and plenty of healthy roots. It is essential to ensure that you have a healthy, mature new plant with multiple stems or pseudobulbs.
Step 4: Grow the divided parts
Plant each part into a clean pot filled with a new orchid potting mix. Make sure the pseudobulbs or stems are at the same conditions as in the old pot. Gently spread the soil mixture evenly around the roots.
Step 5: Label and monitor growth
After planting, water the divided orchids in a moderate amount. Remember to label the information and name of each orchid pot with many different types, then monitor their growth stages in a few weeks/months
Step 6: Change container (Optional)
I would like to add to this step that if the parts have overgrown the pot or the potting mix has deteriorated, consider re-potting a larger container.
Division has always been my favorite choice for propagating orchids. As the name suggests, this method will divide the mature orchids into smaller parts, then each part can grow into a new independent orchid. However, you should not divide orchids while they are in bloom as this can stress them.
Newly divided orchids need regular fertilisation to cope with the division stress and grow new roots and leaves. Fertilise the new plants every two weeks until they are well established and healthy. Avoid using too much fertiliser, as it can harm the new plants’ roots.
The perfect time to divide orchids is early spring or fall since orchids are growing well.
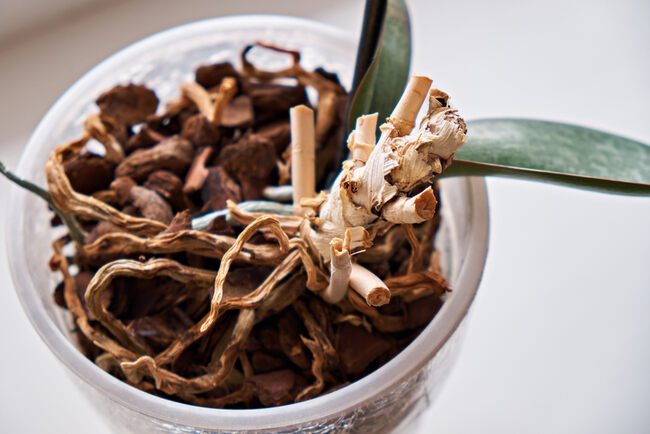
How To Propagate Orchids From Back Bulbs?
Step 1: Choose a time
In contrast to the method of dividing orchids, propagating through back bulbs must be when your orchid is not yet in bloom, usually in the winter months.
Step 2: Find and select back bulbs
Look for small back bulbs near the base of the tree. Choose bulbs that are plump, healthy and have at least one live eye (looks like a bud).
Step 3: Separate the selected back bulbs
Use a sterilized cutting tool to remove the back bulbs selected in step 2 from the main plant by cutting them off. Be sure to cut carefully and meticulously to avoid damaging your bulbs.
Step 4: Prepare pots and grow back bulbs
Fill small pots with orchid potting mix, remembering to leave space at the top for the bulbs. After pouring the mixture, grow the back bulbs deep into the soil, while the small buds are still facing up. You can plant multiple bulbs in one pot if there is space left over.
Step 5: Wait and monitor
After watering and providing the necessary natural conditions. Be patient and regularly monitor their growth because it may take some time.
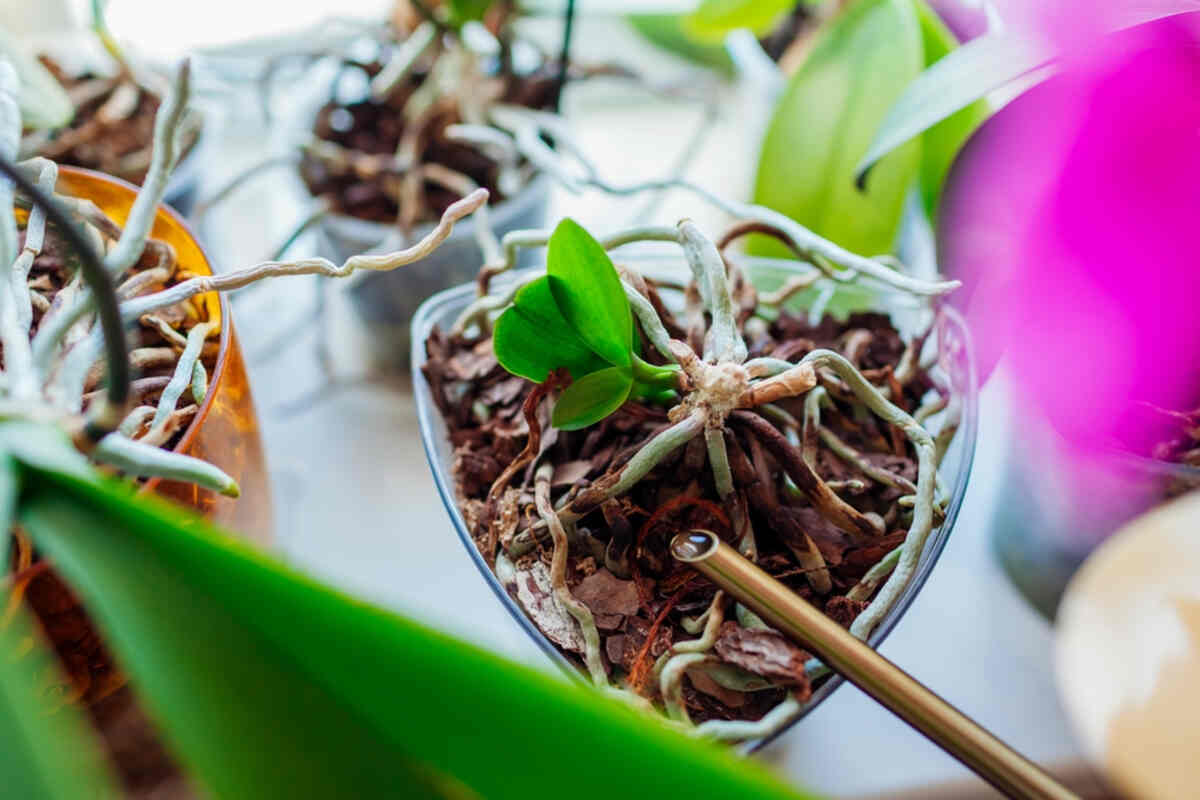
Back bulbs are small bulbs located near the base of the orchid plant, hidden underneath larger bulbs. When propagating orchids from back bulbs, it is important to fertilize them regularly with a balanced orchid fertilizer. They will often reserve life and nutrients for the orchid. I recommend this method for preserving unique or rare orchids.
Propagating from back bulbs ensures that the new plant will have a high percentage of the same genetics as the parent plant.
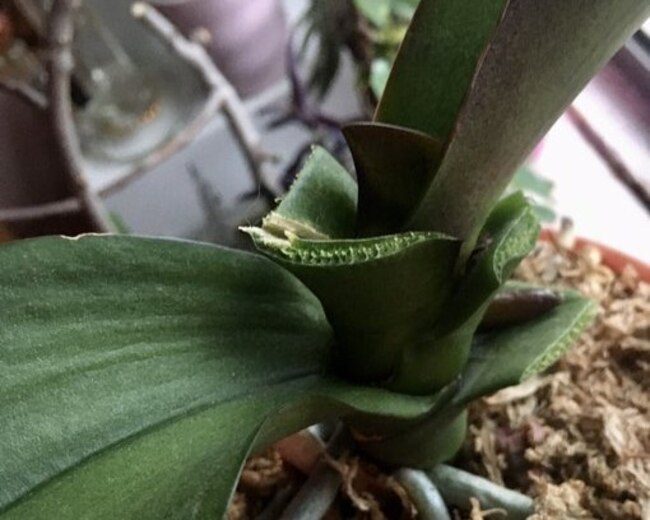
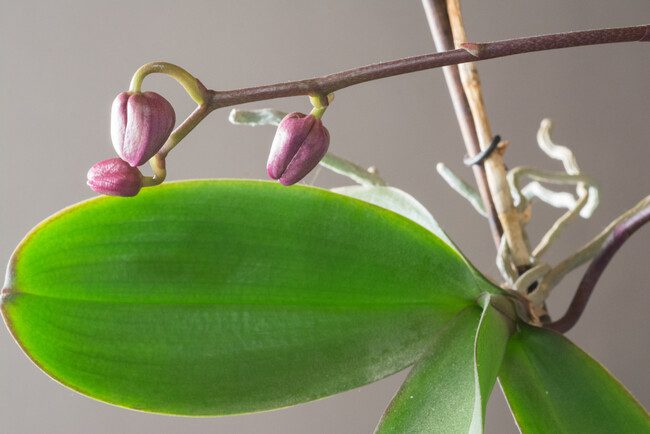
How To Propagate Orchids From Keiki Production?
Step 1: Identify keikis
Keikis are usually small seedlings that grow from flower stems or stems of orchids. These seedlings also have roots and leaves.
Step 2: Separate keikis
Use sterilized scissors or a knife to separate the keikis from the parent plant. Observe and cut just below the keiki’s roots to ensure that it has enough root mass to grow on its own.
Step 3: Wait for enough roots
Be patient to wait for your keikis to grow at least two to three roots that are 1-3 inches long and some young leaves. This stage shows that it is ready for separation and planting.
Step 4: Grow keikis
Grow the keikis in a small pot and place it in a humid environment with indirect light. Then, gently press their roots deep into the soil to help them be completely covered. Remember do not overwater to maintain a moist environment for keikis.
Step 5: Observe growth
Over time, the keikis will grow into a mature orchid. Continue caring for them until bloom. However, it takes about two years for a keiki to become a mature flowering plant.
I guess the term “keikis” may seem strange to beginners. Another interpretation is that keikis are clones of the parent plant because they have similar characteristics, including flower color and shape.
To fertilize orchids when keikis are in bloom, use a balanced orchid fertilizer diluted to half strength. Apply the fertilizer every two weeks until the keiki is established and blooming. Be sure to use a well-draining potting mix and water the keiki regularly. With proper care, your keiki should eventually grow into a mature flowering orchid.
Keikis usually grow without human help, making this method relatively simple.
How To Propagate Orchids From Leaves?
Step 1: Choose a healthy orchid
To propagte orchids from leaves, choose a mature and healthy orchid with at least two leaves for propagation. Make sure the leaves are not damaged or pest-free.
Step 2: Cut leaves
Use a sterilized cutting tool to cut selected leaves from the mother plant. Cut diagonally at the base of the leaf because it connects to the stem. For larger leaves, cut them into small pieces about 2-3 inches long. Make sure each part must have at least one vein running through it.
Step 3: Grow the leaf parts
Insert the cut end of each leaf section about half an inch deep into the prepared potting mix. Gently press around to secure it in place. I often plastic wrap or a clear plastic bag to create a miniature greenhouse to cover the pots.
Humidity level in the plastic bag must be maintained high for keikis to grow.
Step 4: Monitor development
In a few weeks, keikis will begin to form at the base of the leaf sections. Therefore, it can take several months for these keikis to mature. Once they have grown enough roots, carefully add them to separate pots and continue to provide natural growing conditions such as light, humidity, and water.
Propagating orchids from the mature leaves of the parent orchid plant is a more accessible way when you want to preserve the genetic characteristics of a particular orchid species. But, the keikis will have different sizes and the blooming time will be uneven.
Conclusion
I have just shared 6 ways to propagate orchids that I think are accessible and bring the most optimal results. For me, breeding orchids not only represents my passion for collecting many rare orchids, but also is a solution to rejuvenate older plants to minimize the budget of having to buy new varieties. However, I think the biggest problem is probably patience because the stages for new seedlings to mature often take a long time, but I believe that with effort and meticulousness, I will get worthy results!
Good luck!
FAQs