
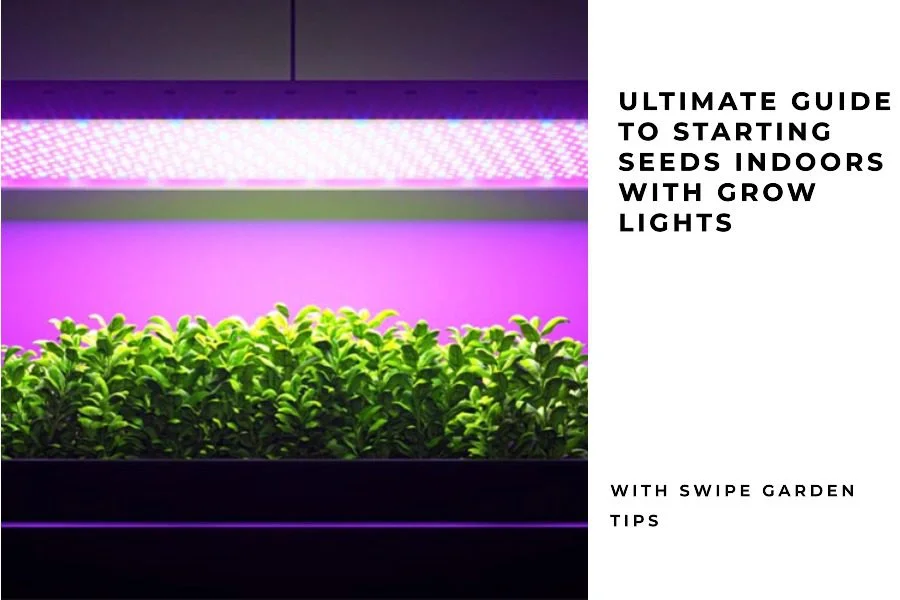
Quick answer: Sow seeds in clean containers filled with a lightly moistened seed-starting mix, give the seedlings bright LED or fluorescent light on a daily timer, and water enough to keep the mix evenly moist but not waterlogged. Follow the seed packet for sowing depth and the lamp manufacturer for hanging height. Before planting outdoors, gradually acclimate seedlings to sunlight, wind and temperature changes.
What you need
- Seed packets with germination and transplanting directions
- Clean trays or pots with drainage holes and a waterproof catch tray
- Fresh, lightweight seed-starting mix rather than unsterilized garden soil
- A stable shelf with an adjustable LED or fluorescent fixture and timer
- Plant labels, a gentle watering container and optional bottom-heat mat for seeds needing warmth
Step-by-step: starting seeds indoors
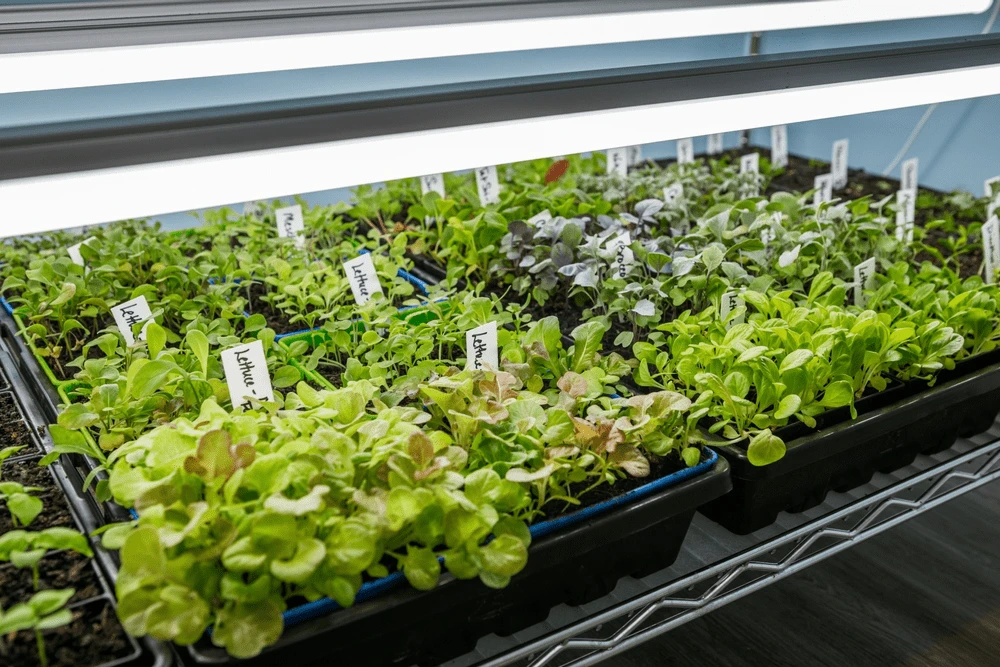
- Plan backwards from planting time. Check the seed packet's weeks-before-last-frost guidance and local frost dates. Some species should be direct-sown outdoors instead.
- Moisten and fill the mix. Pre-wet the seed-starting medium so it is uniformly damp, then fill containers without packing tightly.
- Sow at the correct depth. Different species need different treatments; some need light for germination while others require a measured covering of mix. Label each group.
- Keep germinating seeds appropriately warm. Many common vegetables prefer a warmer root zone; verify individual seed requirements before using a heating mat. Remove temporary covers once sprouts appear to improve airflow.
- Put the light over the seedlings. Place the fixture where the whole tray gets even coverage. Raise the lamp as plants grow and follow manufacturer distance limits for powerful LEDs.
- Use a timer. University of Minnesota Extension recommends around 12–16 hours of light per day for many seedlings; avoid leaving grow lights on all day and night.
- Water carefully. Check the mix daily. Bottom watering can help keep leaves and stems drier; drain standing water after the mix is wetted.
- Thin and pot on when needed. Thin crowded seedlings and transplant when roots or growth warrant it. Begin feeding as appropriate to the medium and seedling development rather than automatically fertilizing newly germinated seeds.
How far above seedlings should grow lights be?
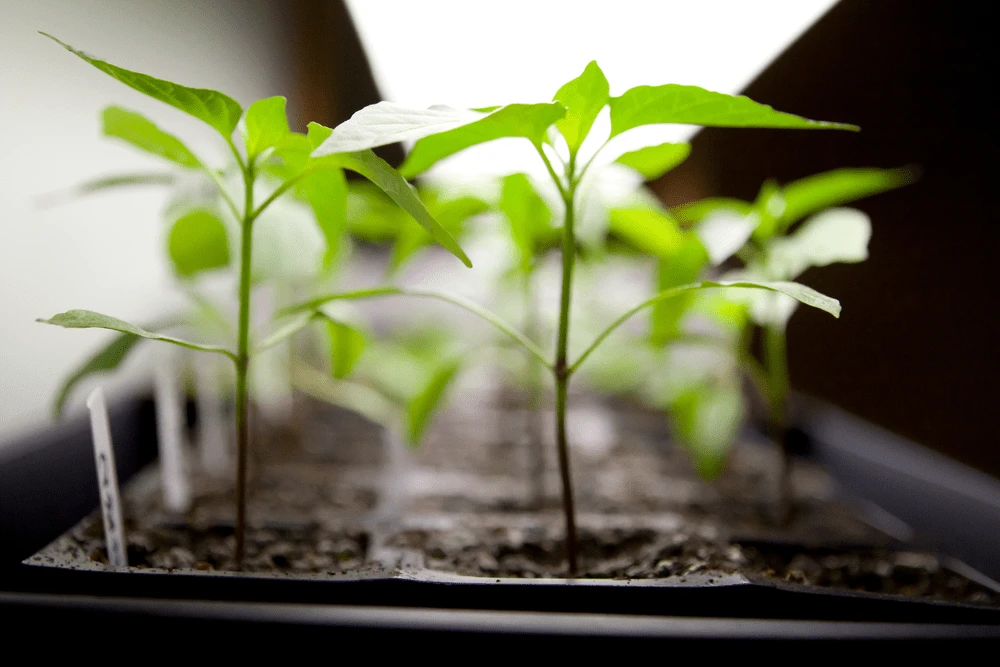
There is no single height for every fixture. University of Minnesota Extension advises keeping traditional fluorescent lights approximately two to four inches over seedling tops. Stronger LED units can require more distance: follow the manufacturer's tested coverage and intensity guidance. Stretching, pale stems and leaning can indicate inadequate light, whereas scorched or bleached foliage can signal excessive intensity or heat.
Do seedlings need special purple grow lights?
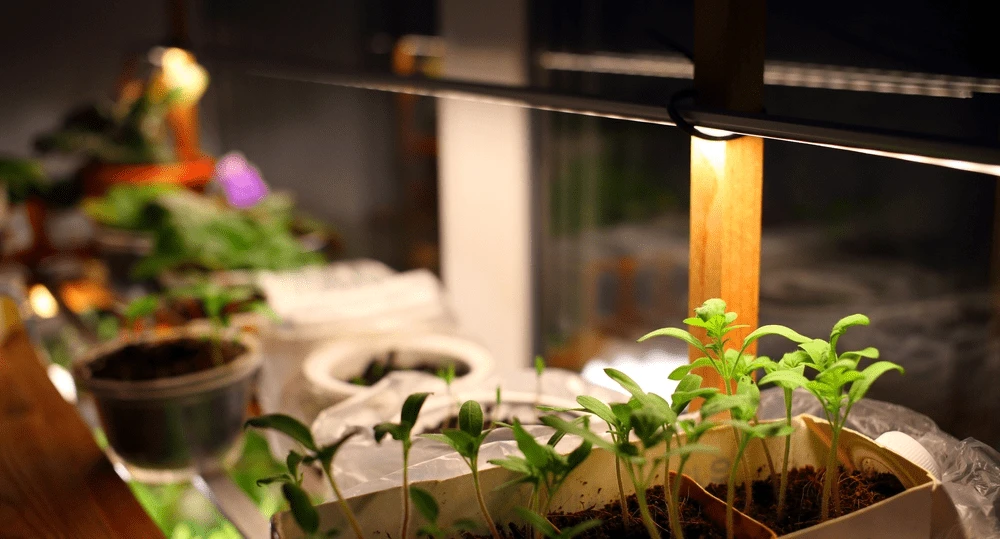
No. White or balanced-spectrum LEDs and ordinary cool-white fluorescent fixtures can work for many seedlings. University of Minnesota Extension explains that white and mixed-spectrum lights are suitable for most plant stages. Choose a fixture that evenly lights the tray, fits safely in the available space and offers dependable output rather than shopping by purple color alone.
Watering and damping-off prevention
Seedlings need oxygen around their roots as well as moisture. Do not leave trays sitting permanently in water or re-use dirty containers. If stems collapse at soil level, damping-off may be involved; avoid spreading contaminated mix and improve cleanliness, airflow and watering practices for the next batch. A moisture probe can help with deep containers, but finger checks and tray weight are often enough for shallow cells.
Hardening off before transplanting
Seedlings raised indoors are not acclimated to direct sun, wind or fluctuating temperatures. Gradually expose them outside over roughly one to two weeks, beginning in a sheltered, shaded spot and increasing exposure as conditions allow. Move them back under protection during cold or hazardous weather. The University of Minnesota seed-starting guide provides a longer hardening-off schedule with regional timing examples.
Common troubleshooting
| Problem | Likely factor | What to check |
|---|---|---|
| Long weak stems | Insufficient light | Fixture coverage, distance, time and intensity |
| Yellow leaves with soggy mix | Waterlogged roots or other stress | Drainage, watering and root condition |
| Seed fails to germinate | Seed age, moisture, depth or temperature | Packet guidance; try a small germination test |
| Leaf edges bleach | Excess lamp intensity or heat | LED instructions and recent lamp movement |
Frequently asked questions
Can I leave lights on for 24 hours?
A daily dark period is preferable for many seedlings. Use a timer and follow crop-specific guidance rather than continuous light.
Are windows enough?
A bright window may work for some plants, but low winter light often produces leggy seedlings; an even overhead fixture gives more predictable coverage.
When should I transplant outdoors?
After suitable hardening off, when soil temperature, weather and frost risk are appropriate for that plant.