
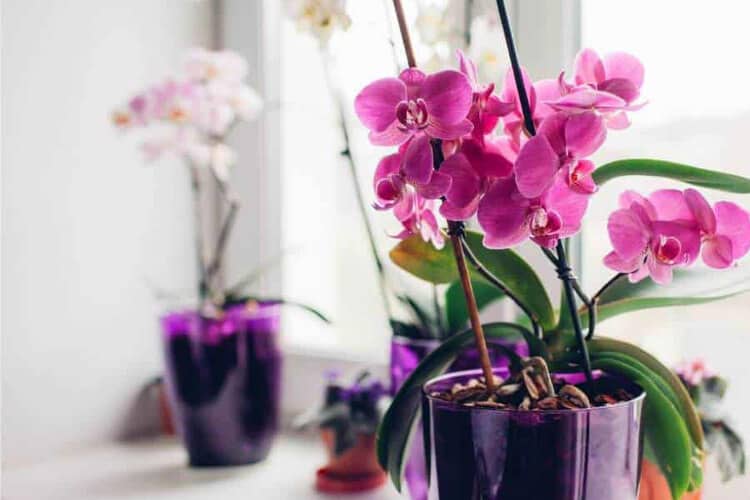
Fertilize orchids while they are making healthy new roots, leaves or shoots. Many orchids use nutrients most readily in warm, bright growing conditions and less in cooler, darker periods. Others require a definite resting period with little or no feeding. The plant's identity and growth stage matter more than a blanket rule to fertilize every two weeks.
Look for active growth rather than a date
Fresh green root tips, expanding leaves and new pseudobulbs indicate growth. If the pot contains a healthy root system and adequate drainage, a carefully diluted fertilizer can help supply essential mineral nutrients. If the plant is wilting with rotten roots or struggling in darkness, fertilizer will not solve the primary problem.
The American Orchid Society's feeding guidance explains why frequency must follow growth and growing conditions rather than an unchanging routine. “Weakly weekly” refers to small, dilute applications under suitable conditions—not permission to apply an arbitrary concentrate.
How timing differs among common orchids
Phalaenopsis: common moth orchids can maintain growth much of the year when kept warm with sufficient light. Apply a mild orchid feed while roots and leaves are growing and reduce it when activity slows. Cattleya and Oncidium: new growth and roots can signal a suitable time to begin a gradual feeding cycle. Some Dendrobium, Catasetum and other seasonal orchids: a dry or cool rest may require stopping fertilization until the next growth cycle. Do not impose one genus's rest period on another.
If you have a hybrid without a complete label, start with conservative feeding and check species-specific culture advice rather than claiming that every orchid naturally sleeps all winter.
Spring, summer, autumn and winter are not universal
In temperate northern homes, daylight often rises in spring and summer, so many orchids produce more roots and foliage then. Less light and cooler windows can slow growth in autumn and winter. Tropical indoor conditions and southern hemisphere seasons may differ. If you use grow lights, seasonal light differences may be smaller, but temperature and the orchid's biology still matter.
The American Orchid Society's winter care guidance describes this variation, including the importance of genuine resting phases for some species. A calendar is a prompt to inspect the plant, not the entire diagnosis.
What about feeding while flowering?
Blooming by itself neither demands more food nor rules out fertilizer. A healthy growing Phalaenopsis with a flower spike may continue its gentle feeding schedule, while another orchid may bloom after slowing vegetative growth. Check the roots and species before dosing.
For the decision during an active flower display, consult fertilizing orchids in bloom. To support a new flower cycle, see reblooming care for moth orchids.
After repotting or recovering from root damage
A healthy orchid moved into fresh media may not require an immediate full-strength nutrient dose. If roots were trimmed because of rot, wait until new root tips establish rather than feeding an injured system. Fresh bark can drain faster than old decomposed mix, and sphagnum can stay moist longer; monitor watering alongside feeding.
Watch for blackened root tips, brown leaf margins and mineral crust. These may indicate excessive salts. Stop feeding, examine root health and consider flushing with clean water if the pot drains freely. The AOS fertilizer-burn guidance warns that concentrated salts can injure tender roots.
Build a species-aware feeding routine
- Identify the orchid, its potting medium and approximate growth season.
- Inspect root tips and leaves before deciding whether it is growing.
- Choose an orchid-labeled complete fertilizer and prepare the dilution exactly as instructed.
- Water before or with the dilute solution according to the product and media so roots are not exposed dry to concentrated salts.
- Allow free drainage, and use plain-water flushes when needed.
- Reduce or stop fertilizer when the orchid stops growing or enters documented dormancy.
For application details, see how to fertilize orchids safely. The goal is consistent healthy growth, not a precise number of feedings per calendar month.