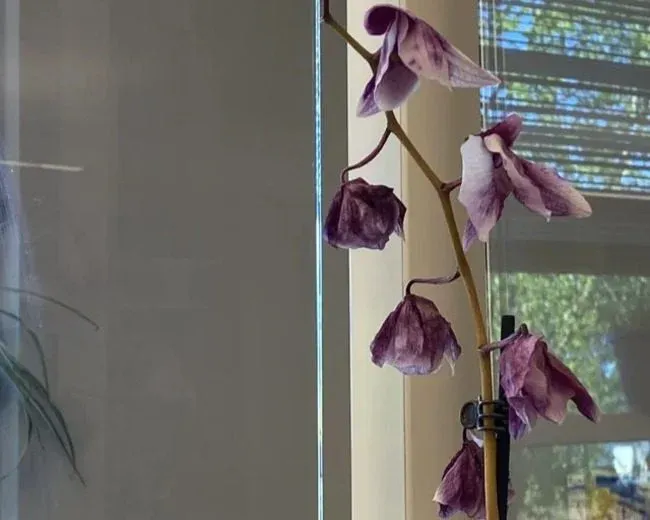
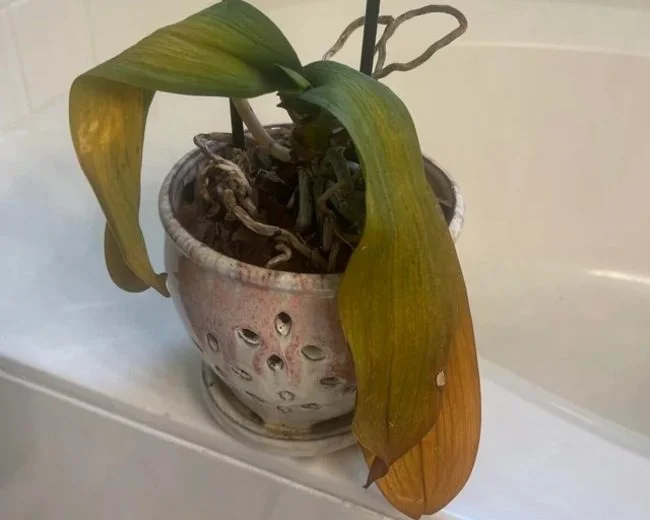
To revive an orchid, start by examining its roots and growing medium—not by automatically giving more water or fertilizer. Limp leaves can indicate either a dry plant with sound roots or a waterlogged plant whose roots have rotted and can no longer absorb moisture. The correct remedy depends on which problem you find.
First decide whether the plant is actually declining
A few flowers dropping after a long display is often normal. New leaves and firm green or silvery roots may show that a moth orchid is healthy even without blooms. More concerning symptoms include a soft crown, rotten-smelling medium, disintegrating roots, many collapsing leaves or dark wet-looking lesions spreading quickly.
Identify the genus if possible; Phalaenopsis usually retains leaves between blooms, while certain deciduous orchids can drop theirs normally during a seasonal rest. The after-flowering guide explains what to do when only flowers have finished.
Step 1: examine roots and the container
Remove the decorative outer pot and inspect visible roots. Firm roots that are green when wet or pale silvery when dry can be healthy. Dead roots may be hollow, mushy, dark and easy to crush. Carefully ease the orchid from its growing container only if the roots or medium warrant closer inspection; excessive handling can damage healthy velamen.
Feel the center of the bark or moss. Permanently wet, compacted or sour-smelling medium prevents adequate root aeration. If the medium is simply dry and roots are intact, the plant needs appropriate watering, not emergency root pruning. The American Orchid Society explains that epiphytic orchid roots need oxygen as well as water.
Step 2: correct the actual moisture problem
Dry mix, sound roots: water thoroughly with room-temperature water and allow the pot to drain; dry bark may require a carefully brief soak to wet evenly. Wet mix and rotten roots: remove clearly dead root tissue with clean tools and replace severely decomposed medium with a suitable airy orchid mix in a drained container. Avoid overpotting; large volumes of wet moss around a weak root system may slow recovery.
Do not keep the pot submerged overnight or leave water trapped in the plant's crown. An orchid with no functional roots cannot take up water simply because it is watered more often. See orchid watering decisions for a gentle, repeatable routine.

Step 3: give species-appropriate light and stable warmth
For a typical Phalaenopsis, choose bright indirect daylight and avoid strong direct summer sun. A scorch mark will not turn green again, so judge the next leaves, not old scars. Keep the orchid away from cold winter glass, heating vents and drastic temperature swings.
A grow light may be useful in a dim room, but its electrical wattage does not establish how much useful light reaches the orchid. Place it according to reliable fixture coverage guidance and the plant's genus. For different orchids' needs read the orchid lighting guide. Do not assume a particular branded lamp has been tested or is required.
Step 4: inspect for spreading rot or pests
Water-soaked dark lesions, foul-smelling soft tissues or rapid expansion can suggest bacterial or fungal problems that require prompt isolation. Mealybugs, scale and other pests can hide under leaves or on spikes. Make a careful visual check before applying treatments and avoid passing contaminated pruning tools to healthy plants.
If dark lesions spread, quarantine the orchid, keep foliage dry and use a plant diagnostic resource if uncertain. Avoid spraying household disinfectants, strong vinegar or random mixtures onto foliage or roots. The American Orchid Society's problem guide distinguishes root, fungal and bacterial conditions.
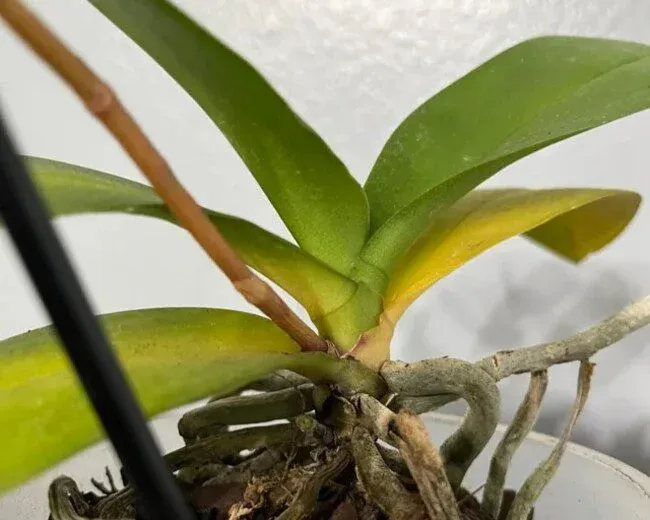
Step 5: help weak roots recover without forcing growth
Postpone heavy fertilizer until roots can take up water again and growth resumes. Do not cut healthy leaves to “save energy”; they help supply the plant with sugars. Avoid repotting a recovering orchid repeatedly. A modestly humid environment with gentle air movement can reduce water stress, but do not seal the plant permanently in stagnant, wet conditions.
The presence of fresh root tips and firming newer leaves indicates recovery. A rootless or crown-rotted orchid may not be salvageable, and that should be stated rather than promising a rapid cure.
Quick recovery decision guide
- Flowers fall, leaves and roots firm: ordinary post-bloom care.
- Wrinkled leaves, medium dry, roots plump: improve watering.
- Wrinkled leaves, medium soggy, roots soft: restore drainage and root health.
- Dark wet lesions spreading: isolate and investigate disease.
- No roots or a rotted crown: recovery uncertain; seek specialist help.
If leaves are unusually limp, the wrinkled-leaf diagnosis provides more detail on water loss versus root rot.